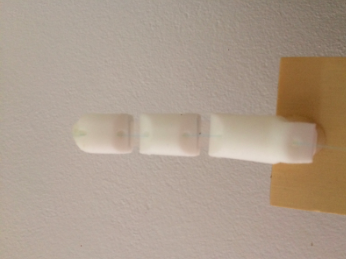
A 3D printed finger. The finger is what we will be moving with the motor.
A sheet of transparent overhead plastic which is only needed to put your hand together
Fisherman's wire. his will be needed to keep the 3D printed finger in shape so that it resembles a human finger. This part can be replaced by some other type of thin string.
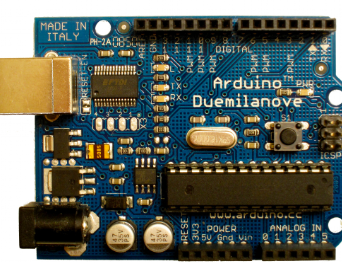
Arduino board and laptop/computer to code on.
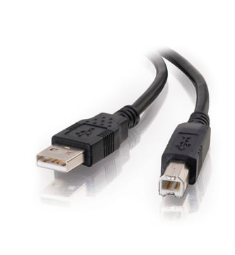
A USB cable in order to transmit the code/information from the computer/laptop to the Arduino board. This part cannot be replaced unless you are using bluetooth.
A SG90 microservo. The microservo is the motor which will pull the string to make the finger curl up. It may be replaced with some other suitable motor.
A 2.2" Flex Sensor. This part cannot be replaced as it senses how far your finger has moved and provides the Arduino board with a value which can then get changed so the finger can move.
Batteries and a case for them are essential because once you transfer the code from the laptop and disconnect it, the Arduino board has no power. Having batteries would make it much more mobile.
How to assemble
Cut out strips of the overhead plastic and double it up so that it fits comfortably between the gaps in the 3D printed finger. Use hot glue to secure it.
Use the nylon or fisherman's wire and thread it through the holes in the center of the finger. Secure the wire to the tip of the finger with hot glue.
Tie the other end of the wire to the furthest hole in the microservo. Secure with hot glue if needed.
Attach the wires from the microservo to the digital pins in your Arduino board. The number will change depending on the the number of the pin in your code, but make sure they are the same. The brown wire has to attach to G, the red wire has to attach to V, and the yellow wire has to attach to S, if you're using the nanoboard.
Attach the wires from the flex sensor to the analogy pins in your Arduino board. Again, the number will change depending on the number of the pin in your code, but make sure they are the same. It doesn't matter which colour of wire is connected to which, but they have to be attached to G and S.
Use the USB cord to connect your board to your laptop. Code will be provided in the next section as well as an explanation.
Attach the finger to the edge of the wooden board using a hot glue gun. Once that has set, place the microservo on the board so that it gets rid of as much slack as possible, but still allows the finger to return to a straight position. Secure the microservo on the wooden board.
After you have coded and calibrated, use a hot glue gun to attach the flex sensor to the glove.
Prepare the batteries and attach it to the Arduino board.
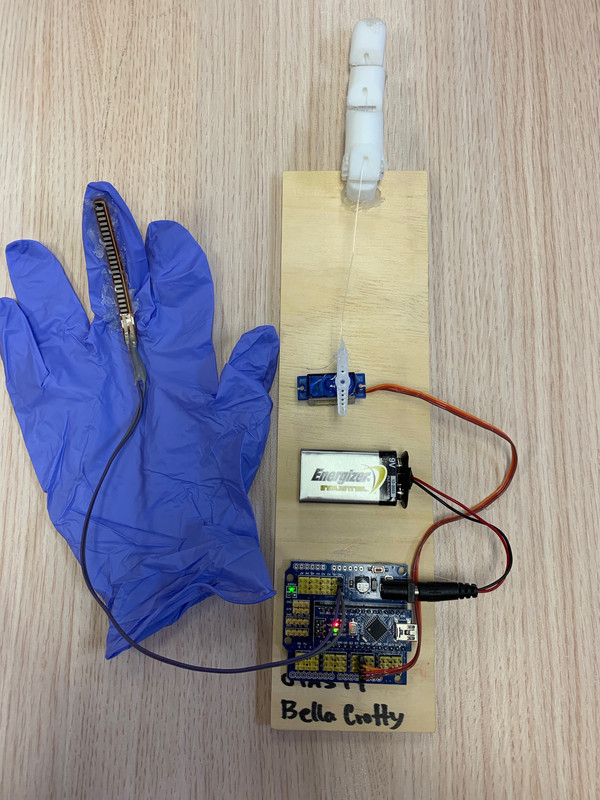
Once you are happy that the flex sensor is properly calibrated, attach the rest of your components (apart from the glove) to your wooden board. Should look like this:
why we need bionic parts:
Bionic limbs are essential for people who have lost limbs as a result of they allow the amputee to repossess the flexibility to maneuverer and be independent.
Amputees wouldn't somewhat be ready to do things the other human being would commonly do. This includes a number of the simplest tasks we tend to take for
granted, like picking up a ball or tying our shoelaces. prosthetic device are able to offer users a spread of mobility, and also the latest technology even
permits you to manage your prosthetic with thoughts. Bionic limbs are also ready to give a sense of comfort to users, allowing them to feel additional normal,